Using photographs to form groups
Two fun ways to break a class into groups are to use either 'themed photographs' or 'photograph puzzles'. Both work well as dynamic starts to a session and get students thinking even before the lesson begins.
Themed Photographs
Keep packs of laminated photographs relating to geographical themes, for example selections of photographs of rivers, and of glacial features. Hand out (or place on desks before the group arrives) photographs from a mix of different themed sets (use one set for each group you want). Explain to your students that they will be working in groups and the photographs hold clues to who else is in their group.
Give them a few moments to think about it - then let them move around and form groups based on the images. You can make this as simple or complex as you like. Occasionally you might even choose to use a selection of ambiguous images and, once the groups have formed, have a discussion about the connections your students have found between the pictures.
To form three groups of nine students, hand out nine images based on each of three different themes - twenty seven images in total. Once sorted, the students should be in three groups of nine, each group consisting of students holding photographs with a common theme.
A variation on this can be to use cards with geographical terms on them, such as beach, wavecut platform, swash in one set, and town, hamlet, city, and village in another.
Photograph Puzzles
Take one good size image (A3 is best) for each group you want to create. Laminate the photograph, then cut it up into bits. The number of pieces determines the number of people you will have in a group. Thus, to form a group of five students, cut the image into five pieces.
Hand out (or leave on desks before the class arrives) the photograph sections. Explain to your students that they will be working in groups and the photographs hold clues to who else is in their group.
Give them a few moments to think about it - then let them move around and form groups based on the images. You can make this as simple or complex as you like.
For easiest and quickest results use images that contain clearly different colours, eg:
Green Forest
London Eye
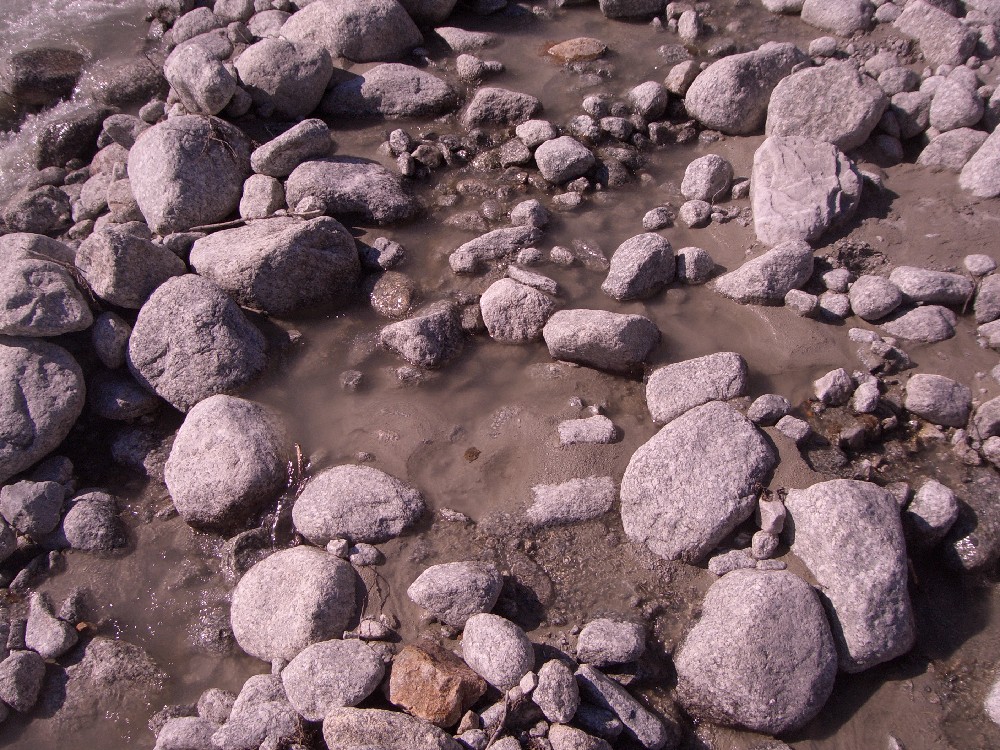
Glacial Stream
To stimulate more discussion and more analytical thinking use more similar images with subtle differences.
Not only are these fun ways to start a lesson, they also promote analytical thinking, geographical discussion, and can serve as basic revision.
For example:
Use images based on previous work to refresh student's memories before moving on to a new topic.
Use images of different types of primary, secondary and tertiary industries to form groups undertaking projects on those types of industry.
NB: Teachers can control the membership of groups by laying out the images before the class arrives. This has the effect of still seeming like random grouping whilst being anything but!
posted by David Robinson @ 11:33 pm
1 comments
![]()

1 Comments:
Great article, thanks for sharing! Do not forget to come back to my blog. Indonesian bloggers greetings :)
Post a Comment
<< Home